WHITE BALANCE READ AND WRITE.

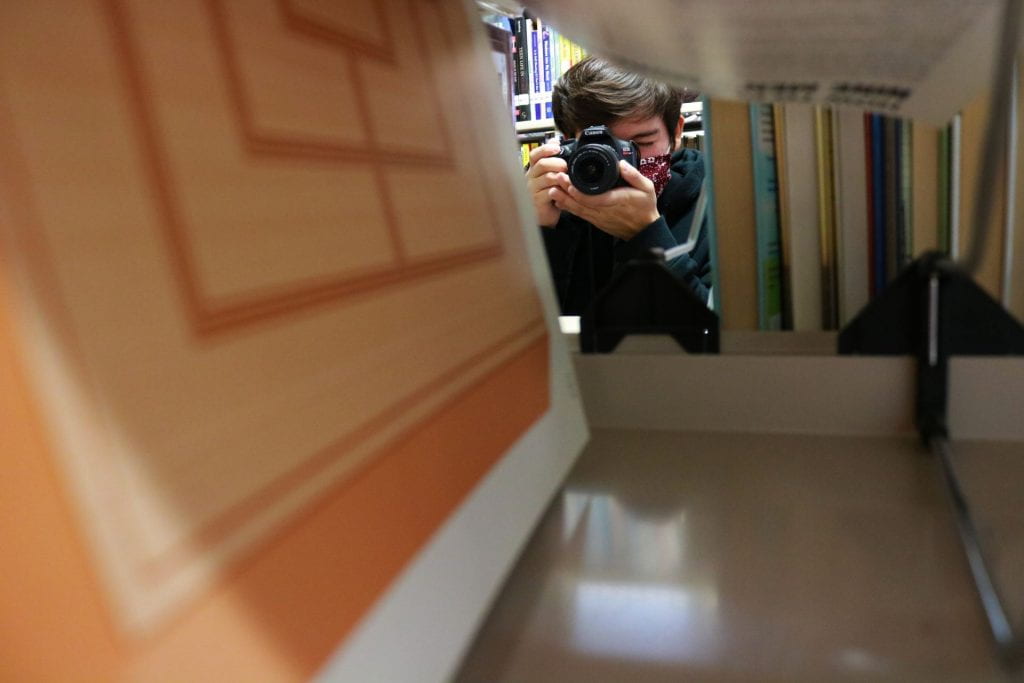
White Balance is an aspect of photography, but it’s something well worth learning about as it can have a real impact upon the shots you take. Despite the fact that to the naked eye the scene looked quite normal. The reason for this is that images different sources of light have a different ‘color’ (or temperature) to them. Different digital cameras have different ways of adjusting white balance so ultimately you’ll need to get out your camera’s manual out to work out the specifics of how to make changes. Having said this – many digital cameras have automatic and semi-automatic modes to help you make the adjustments. some digital cameras (most DSLRs and higher end point and shoots) allow for manual white balance adjustments also. After taking this picture I then held up a piece of white paper to my camera to tell it what color white is. Then I took a second shot with this setting and got the following result – which you’ll see is a much truer color cast than the first image.

Basic Settings for White Balance

  • Auto – this is where the camera makes a best guess on a shot by shot basis. You’ll find it works in many situations but it’s worth venturing out of it for trickier lighting.
  • Tungsten – this mode is usually symbolized with a little bulb and is for shooting indoors, especially under tungsten (incandescent) lighting (such as bulb lighting). It generally cools down the colors in photos.
  • Fluorescent – this compensates for the ‘cool’ light of fluorescent light and will warm up your shots.
  • Daylight/Sunny – not all cameras have this setting because it sets things as fairly ‘normal’ white balance settings.
  • Cloudy – this setting generally warms things up a touch more than ‘daylight’ mode.
  • Flash – the flash of a camera can be quite a cool light so in Flash WB mode you’ll find it warms up your shots a touch.
  • Shade – the light in shade is generally cooler (bluer) than shooting in direct sunlight so this mode will warm things up a little.

PORTRAIT PHOTOGRAPHY TIPS

Some Tips for Photography:

  1. not be afraid of natural light and to always keep practicing! Watch and learn how light behaves and moves. Try to keep the sun behind your subject
  2. To make perfect food shots, you’ll need three things: great food styling, natural light, and one or two Styrofoam boards for shadows.
  3. Don’t expect to get great results without understanding the character of light. The best time to shoot outdoor portraits is when the sun’s not shining from above but from the side—either morning or evening. When using a reflector, avoid lighting the model from below.
  4. When working with natural light, it is very important to have patience and the will to experiment. So my tip of the day is this: Choose a house or a landscape — any scene that you really like.
  5. Plan on spending a few days in one place in order to catch good weather and light. If the weather turns bad, don’t get upset. Instead, look for scenes that look good in ambient light, fog, rain, and snow. Use a tripod; a lot of my pictures are made with long exposures.
  6.  knowing how to take advantage of natural or available light is the most important tool in my opinion, along with a tripod.
  7. Shooting RAW is a must so I can fix anything later in post-production if need be. When shooting subjects outside, I would definitely look for soft light, and if it becomes difficult and there is way too much sun everywhere, I would then experiment with backlight. If you are inside on an overcast day, consider positioning yourself as close to the window as possible and using a silver reflector.
  8. If it’s a bright sunny day, I would recommend using a diffuser over the window. Or you could get creative and try a sheer white curtain or place parchment paper over the window to reduce the sunlight’s harshness
  9. In general, I prefer working with natural light. Although it is often unpredictable, it makes the interior feel alive.
  10. Find a stable tripod, use longer exposures, and concentrate on finding perfect compositions. Even if the light is not that exciting, it is more balanced in general and easier to work with.

Portraits

1/80 sec. f/5.6 75mm, 3200 ISO

1/125 sec. f/5.6 80mm, 3200 ISO

1/80 sec. f/5 80mm, 3200 ISO

1/80 sec. f/5 80mm, 3200 ISO

1/60 sec. f/5.6 85mm, 3200 ISO

Lumber, Wood, Hardworking, Clean Photo, Cool Design on the stump. The photo looks and feels like its real cold. Looking at the photo it makes you feel like your in the forest as well.

Framing Composition

1/160 sec. f/5 20mm, 3200 ISO, AV Mode

1/50 sec. f/5 18mm, 3200 ISO, AV Mode


  1. What camera metering mode did I use and why?: I was in AV Mode
  2. Do I have a strong composition?: I would say that my pictures would be good eye catcher
  3. How well did I edit my photographs?: I edited my 1st one good enough where it has a different type of color to catch the eye
  4. What would I do differently if I shot this assignment again?: I would of brought a prop to take pictures of because it was hard to find some props so I used my partner.
  5. Do you think your photographs belong on the blog home page and   should be considered one of the best from all the photo classes?: Yes my photos got some good framing and it could compete to be up there.

Collage

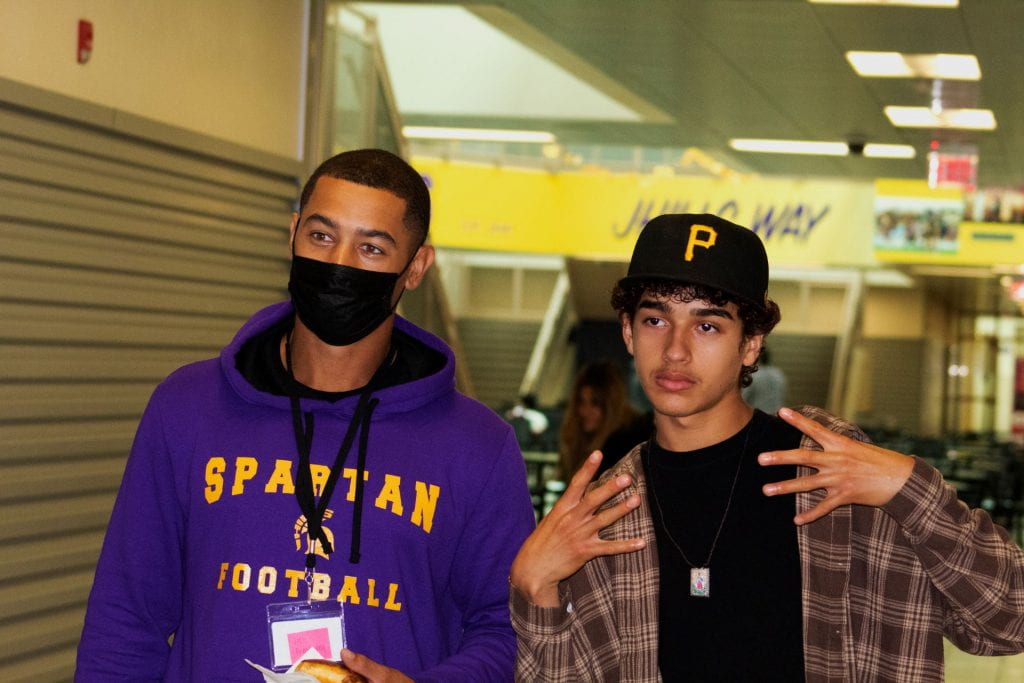
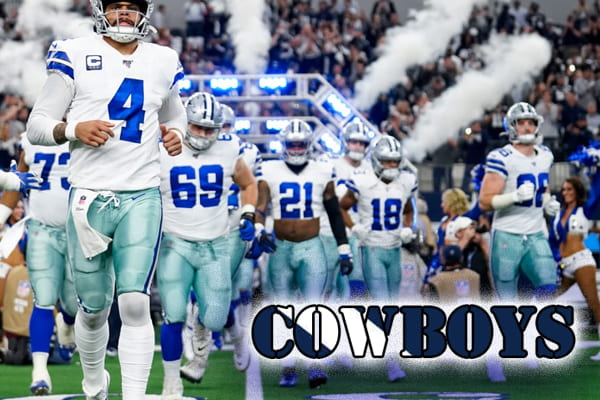
I have put all the things I like and would represent me and also reminds me of my self on a billboard. I like football and especially the NFL. I like the Dallas Cowboys, they are my favorite football team since I was small. I grew up liking them because of my dad he’s a cowboys fan too. I also put a picture of a money rolled up because that’s what is on my mind as of right now. I’m going to start working and that’s what I want to accomplish, which is to get my money up not my funny up. Next up I put a picture of shoes all stacked up on each other because I actually like shoes and really still want to buy more. I like collecting and selling as well so its just a little hobby. As of right now I got 6 pairs of shoes and want even more and maybe recreate the picture some day. I got In N Out up on there too because its my favorite thing to eat especially the double double. I would say that its a food that I wont get tired of. In N Out is my #1 no matter what, I could eat that any day. Netflix is some I watch when I’m bored or when eating it has my favorite show and some good movies. I got my favorite rapper on the board as well because I like listening to music, I like this rapper named NBA Youngboy the one on the board. I like going off-roading on my free time I haven’t gone recently but I’m going to purchase a quad or a ATV soon. I been to some mountains and was driving one and from there I liked to go with my cousins to go off-roading. My last picture I got on is some giving a person a haircut which is something I like to do and get. I’m going to barber school after I finish high school to become a barber, i cut right now but I cant go to the shop and cut if I don’t got a cutting license. My cousin cuts my hair and teaches me as well so I get the 2 thing in one.

Action Sharp & Motion Blur

1/2000 SEC., F/11, 18mm, 800 ISO

1/2000 sec. , F/8, 18mm, 800 ISO

1/6 SEC. , F/25, 28mm, 400 ISO

1/6 SEC. , F/22, 53mm, 400 ISO

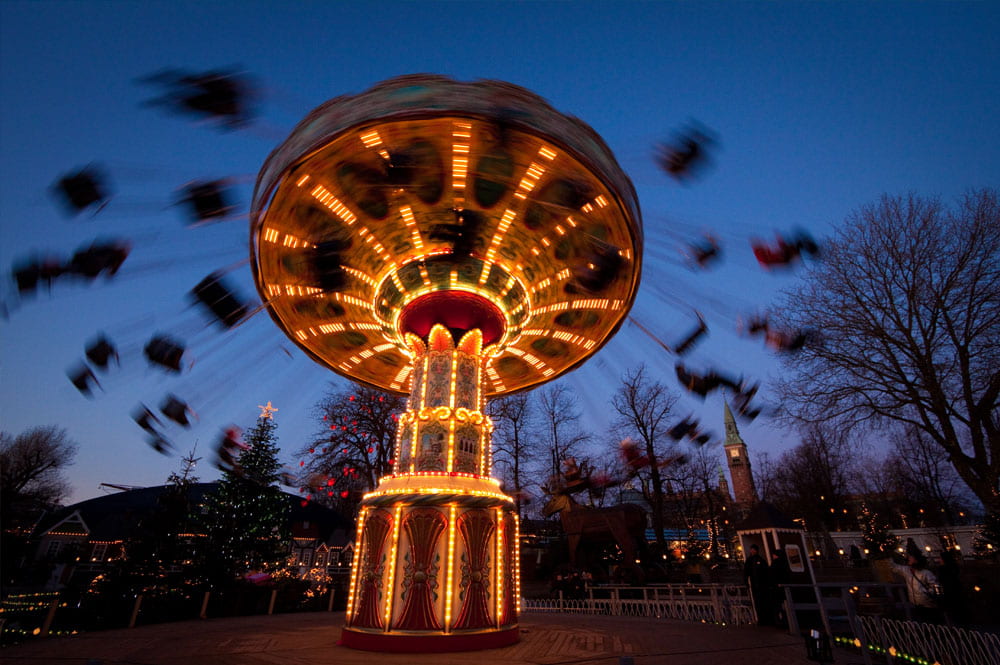
I would say this shutter speed is about 100, around f/2.8 to f/3.5 for aperture, The lens seem to be zoomed in i would say 20mm

I would say this shutter speed is about 15, around f/8 for aperture, The lens seem to be zoomed in I would say 12mm

For you to get good pictures for action motion you need to first off have a good thing to shoot at. I had the mode on for you to spam the button and get a lot of pictures. From there you would at least get one good picture when doing a stunt or some like that. Editing is also a big part for you to have a good photo in the making. Motion blur I would say was more challenging because its looks blurry when taking the photo. Same thing for this one I used the one mode to spam to get pictures and get at least one good one. The pictures might come out blurry but that’s how its supposed to be. After the picture taking you edit and from that you will get to change some blur from the picture. Overall I would say the Action motion one is more easier and way more fun while shooting.

File Formats

  • JPEG (Joint Photographic Experts Group) When the photos are for personal use, for social media, albums, and small prints, and are not intended for large prints
  • TIFF (Tagged Image File Format) TIFF files are usually uncompressed, so they offer the opportunity for extensive post-processing.
  • (RAW) RAW is the best option if you want to get the highest-quality files from your camera, and it’s the option preferred by professional photographers.
  • DNG (Digital Negative Format) The DNG is offered as a main RAW file format, or as an alternative to the manufacturer’s native RAW format.
  • PNG (Portable Network Graphics) PNGs are compressed in a lossless format, and therefore retain all detail. But unlike other file formats, PNG quality doesn’t mean big file sizes – and this is useful on the internet, because you need pages to load quickly.
  • GIF (Graphics Interchange Format)Like PNGs, GIFs are ideal for use on the internet. Lossless compression means image quality is not sacrificed, and like PNGs, GIFs offer the ability to maintain transparency (though they don’t support partial transparency). GIFs also allow for animation.
  • BMP (Bitmap Image File) BMPs are large files, as color data is saved in each individual pixel without any compression.
  • PSD (Photoshop Document)This makes PSDs absolutely essential for any sort of extensive manipulation of the original photograph, such as retouching.